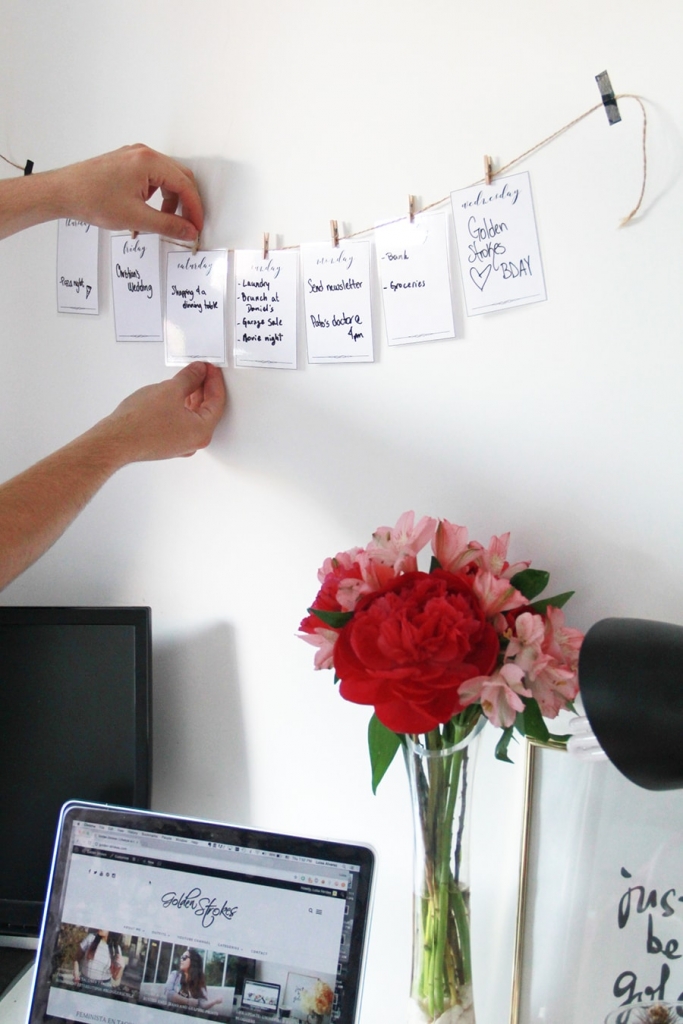
Week planner DIY
Follow me on instagram for more DIYs, Fashion & lifestyle I’ve always been an organized person, always carrying
So, I’ll start by telling you that this DIY was a learning curve and it was quite stressful. Some of the materials may be hard to find, but nothing is impossible, believe me.
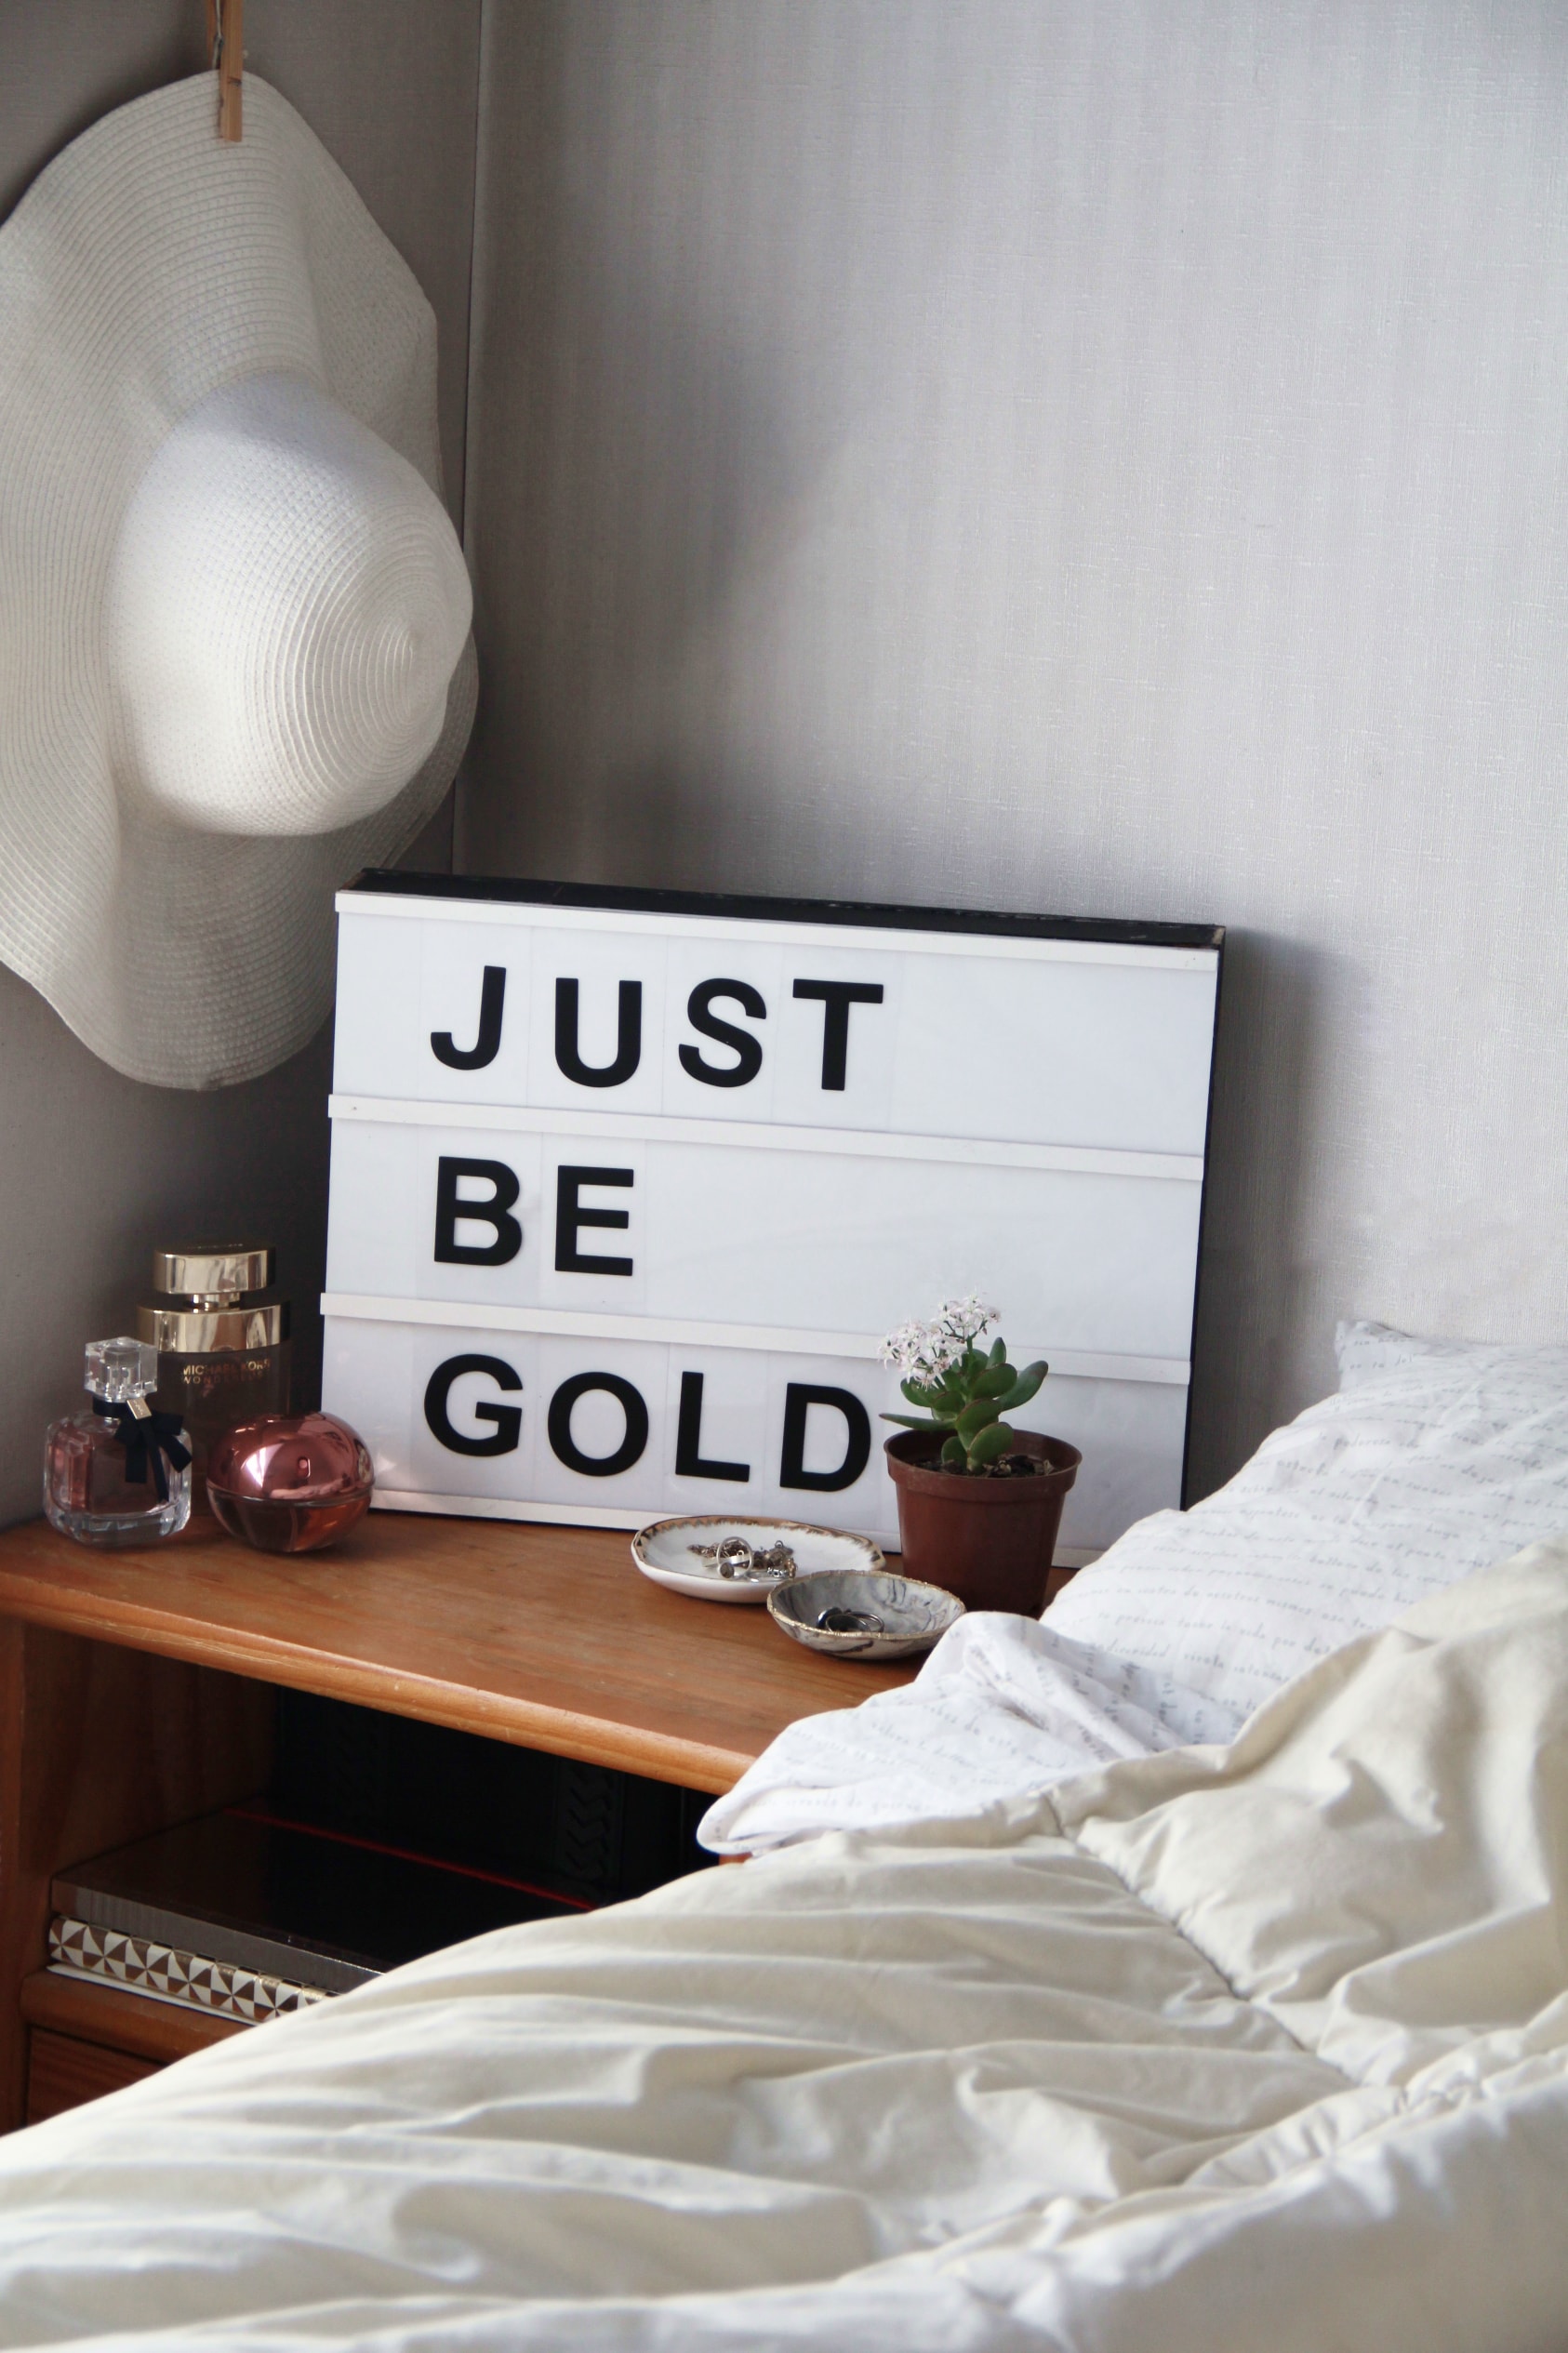
I started planning this light box diy in dec 2016, and it took us (Mr. P & I) a while to find all the supplies and to have the time to make it, but we are really happy with the result! It’s really cool to have stuff around your house and be able to say “we made that”.
•••
Voy a comenzar diciendo que este proyecto fue una curva de aprendizaje y fue bastante estresante. Algunos de los materiales pueden ser difíciles de encontrar, pero nada es imposible, créeme.
Empecé a planear este Cinema light box en diciembre de 2016, y nos llevó (a Mr. P y a mí) unos meses para poder encontrar todos los materiales, incluso las letras las tuvimos que pedir por amazon porque no encontramos en Chile. Pero estamos muy contentos con el resultado! Es muy padre tener cosas en tu casa y poder decir “nosotros lo hicimos”.
–
[ezcol_1half]
[/ezcol_1half] [ezcol_1half_end]
[/ezcol_1half_end]
–
There are no specific measurements for this DIY because it depends on the size of your letters and if you want to make it a two or 3 row message light box.
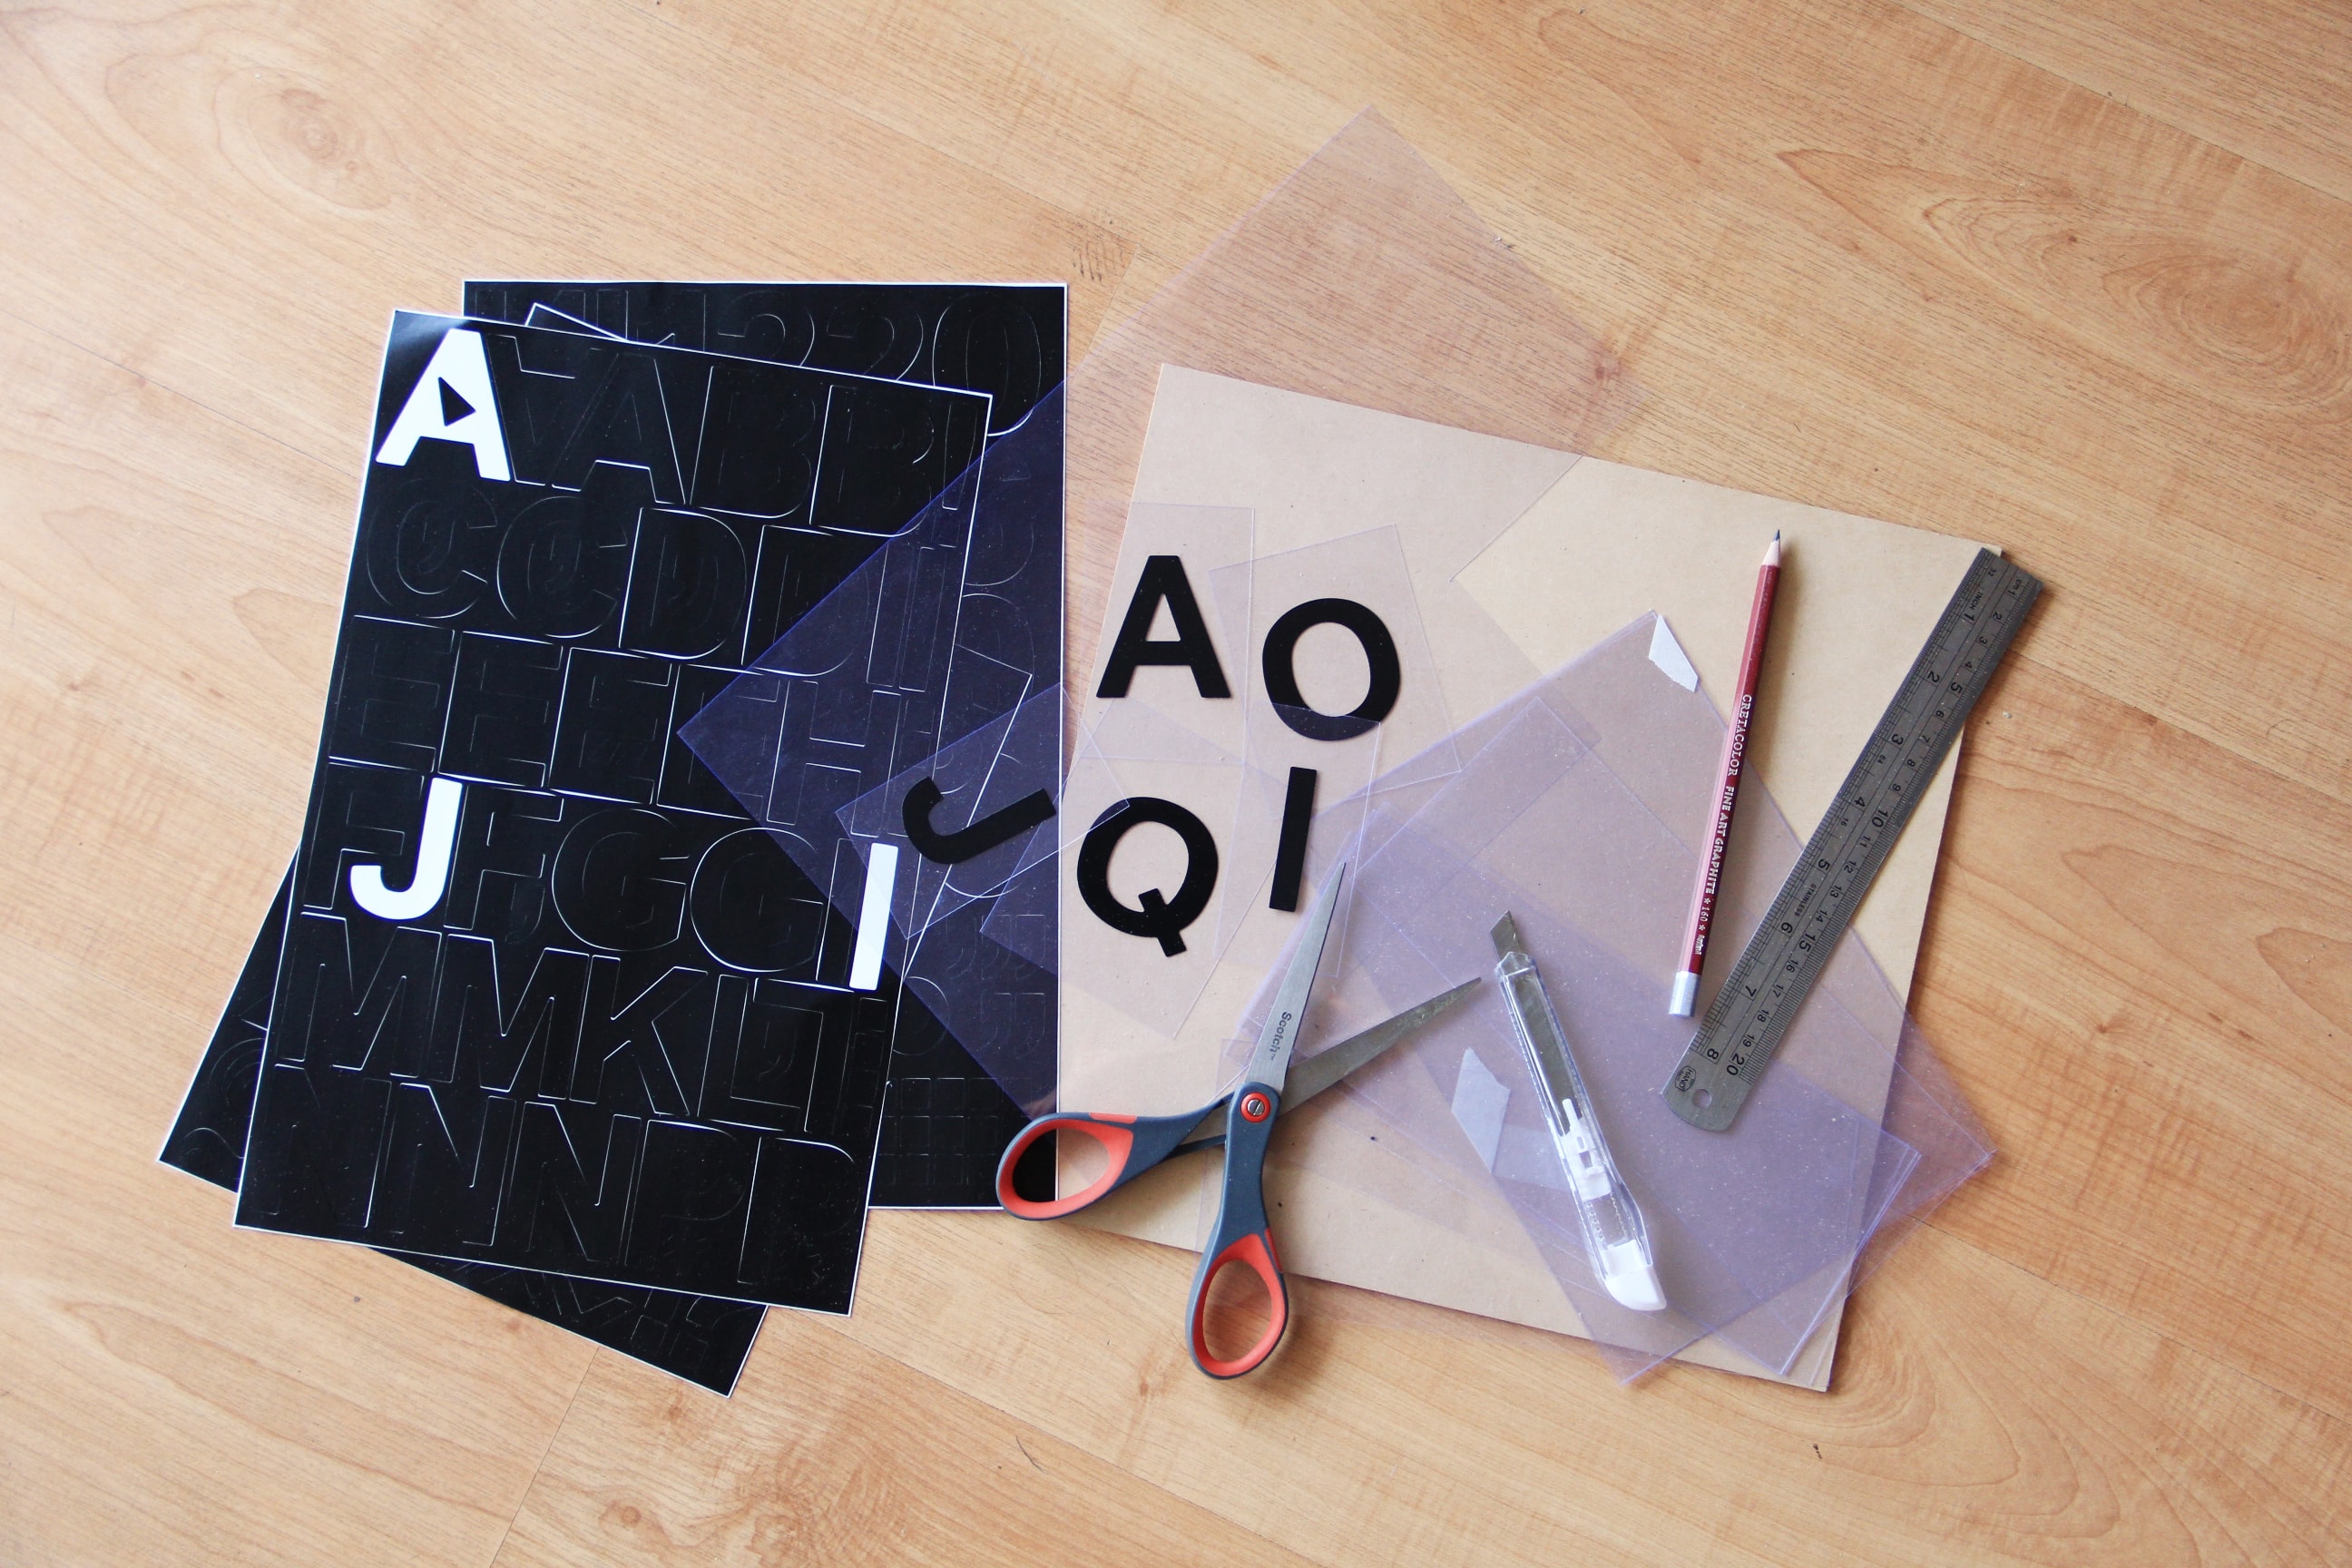
First of all, take measurements and plan your light box. My letters were 2 inches tall, so I cut the acetate into 3½ inches tall rectangles (the width depends on each letter). As I wanted a 3 row light box, I needed 10½ inches + the space for the four rails, which gave me a 11½ inches tall light box. From there, the width of the box is as wide as you want it and the depth has to be something around 2 inches so that the box has enough support and for the light to be close enough to the acrylic to light it, but not so close that the light spreads evenly. With your measurements ready, you can start working!
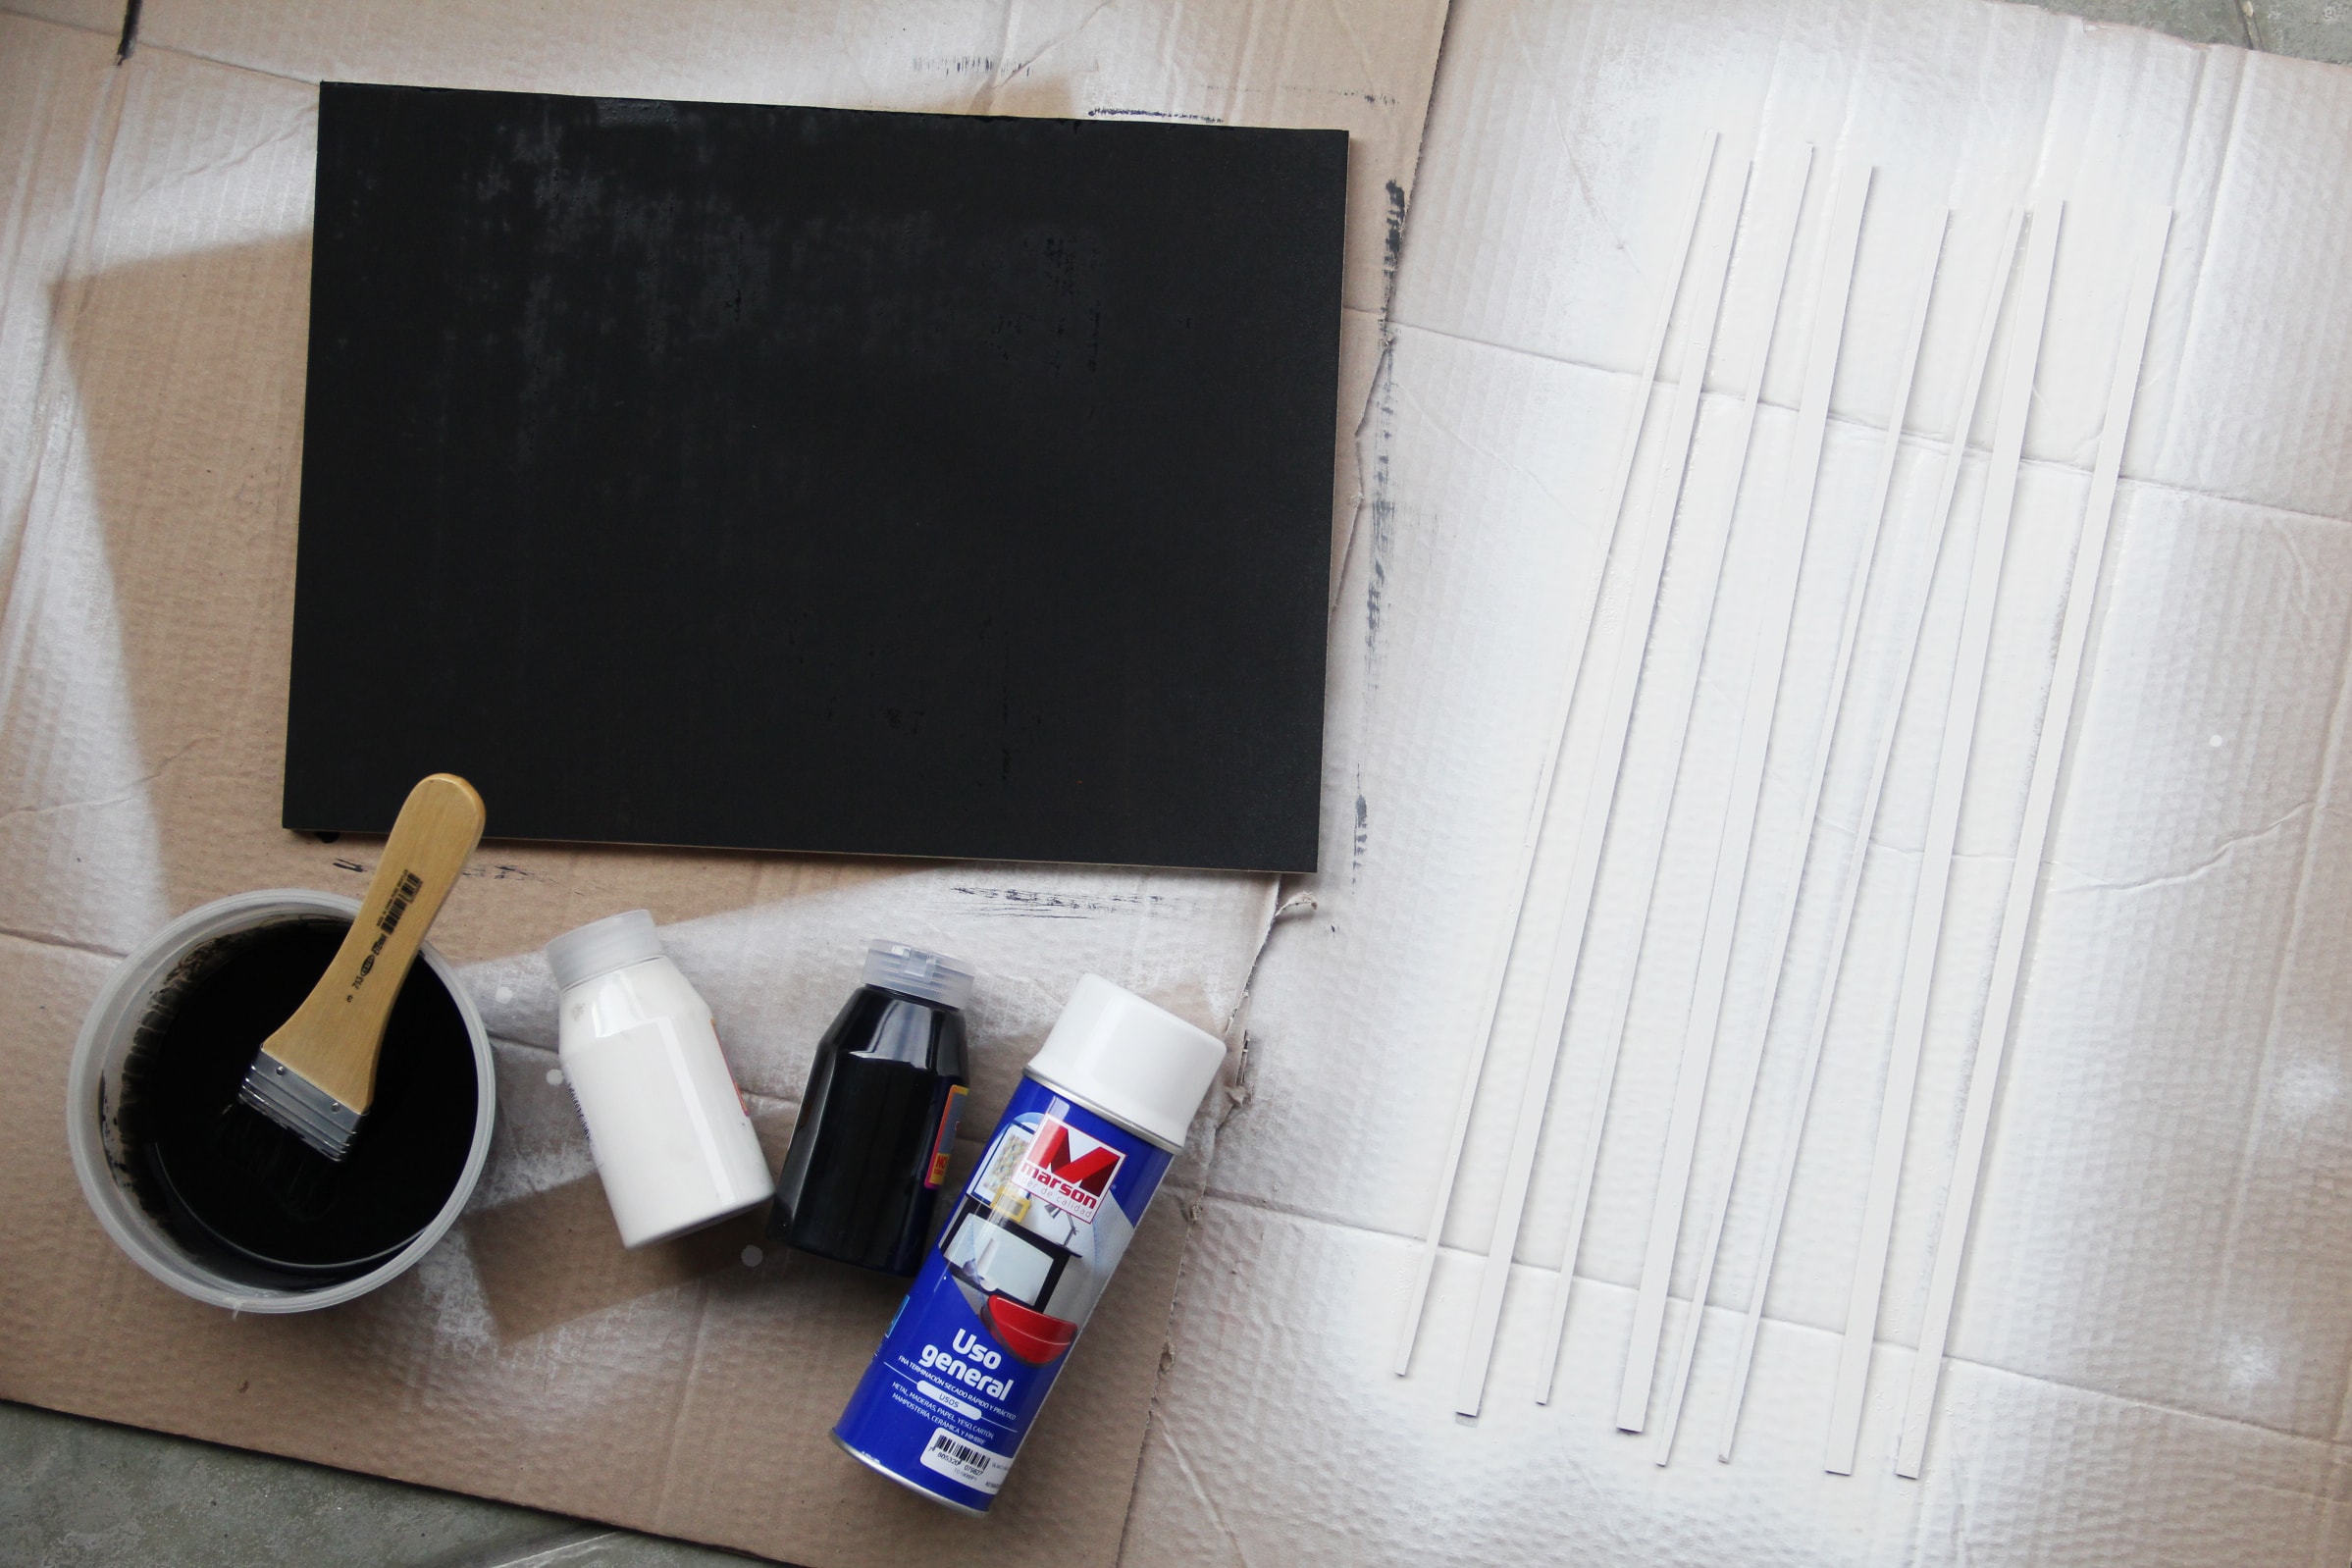
1. Paint the frame pieces black on the outside and white on the inside so it can reflect the light better. Also paint the wood strips white for the front rails.
2. Stick your letters in acetate rectangles leaving a small space on the top and sides. Make sure all your letter rectangles have the same height.
3. Glue the narrow wood strips on top of the wide ones. In my case, I glued two of them in an L shape, and the other two in a T shape. Measure out where your ledges are going to be, the L shaped ones go on the top and bottom of the box, and the T shaped ones go between the spaces for the letters. Place them on the acrylic sheet and make sure your letter rectangles fit. Glue them to the acrylic, with the wide part to the outside.
•••
No hay medidas específicas para este proyecto, ya que depende del tamaño de sus letras y si es que quieres hacer un message light box dos o tres filas.
Primero, hay que armar las medidas y planificar la light box. Mis letras eran de 2 pulgadas de alto, por lo que corté el acetato en rectángulos de 3 ½ pulgadas de alto (el ancho depende de cada letra). Como quería una light box de 3 filas, necesitaba 10½ pulgadas + el espacio para las maderitas que armarían los cuatro carriles, lo que me dio un total de 11½ pulgadas de altura en total. De ahí, el ancho de la caja es como tu quieras y la profundidad tiene que ser alrededor de 2 pulgadas para que la caja tenga suficiente apoyo y para que la luz led esté lo suficientemente cerca del acrílico para iluminarlo, pero no tan cerca para que se esparza uniformemente. ¡Con las medidas listas, podemos comenzar a trabajar!
1. Pinta las piezas de marco y base con negro por un lado y blanco por el otro para que pueda reflejar la luz mejor. También pinta las tiras de madera blanca para los rieles.
2. Pega las letras en rectángulos de acetato dejando un pequeño espacio en la parte superior y los lados. Asegúrate de que todos los rectángulos tengan la misma altura. Usa estos cuadros para basar las medidas de tu caja.
3. Pega las tiras de madera delgada en la parte superior de las anchos. En mi caso, he pegado dos de ellos en forma de L, y los otros dos en forma de T. Mide con las letras donde va a quedar cada carril, los en forma de L van en la tapa y la parte inferior de la caja, y los en forma de T van entre los espacios para las letras. Pegalos en el acrílico y asegúrate de que las letras encajan. Pegarlos al acrílico, con la parte ancha hacía arriba.
4. Take the wood base (it has to have the same measurement as the acrylic sheet) and glue together the sides all facing white on the inside. Make a hole on one of the bottom corners of the box.
5. Glue the led light strip, for an even result I recommend making a spiral with the lights facing each other. You can place the acrylic sheet on top and arrange the lights until you like it.
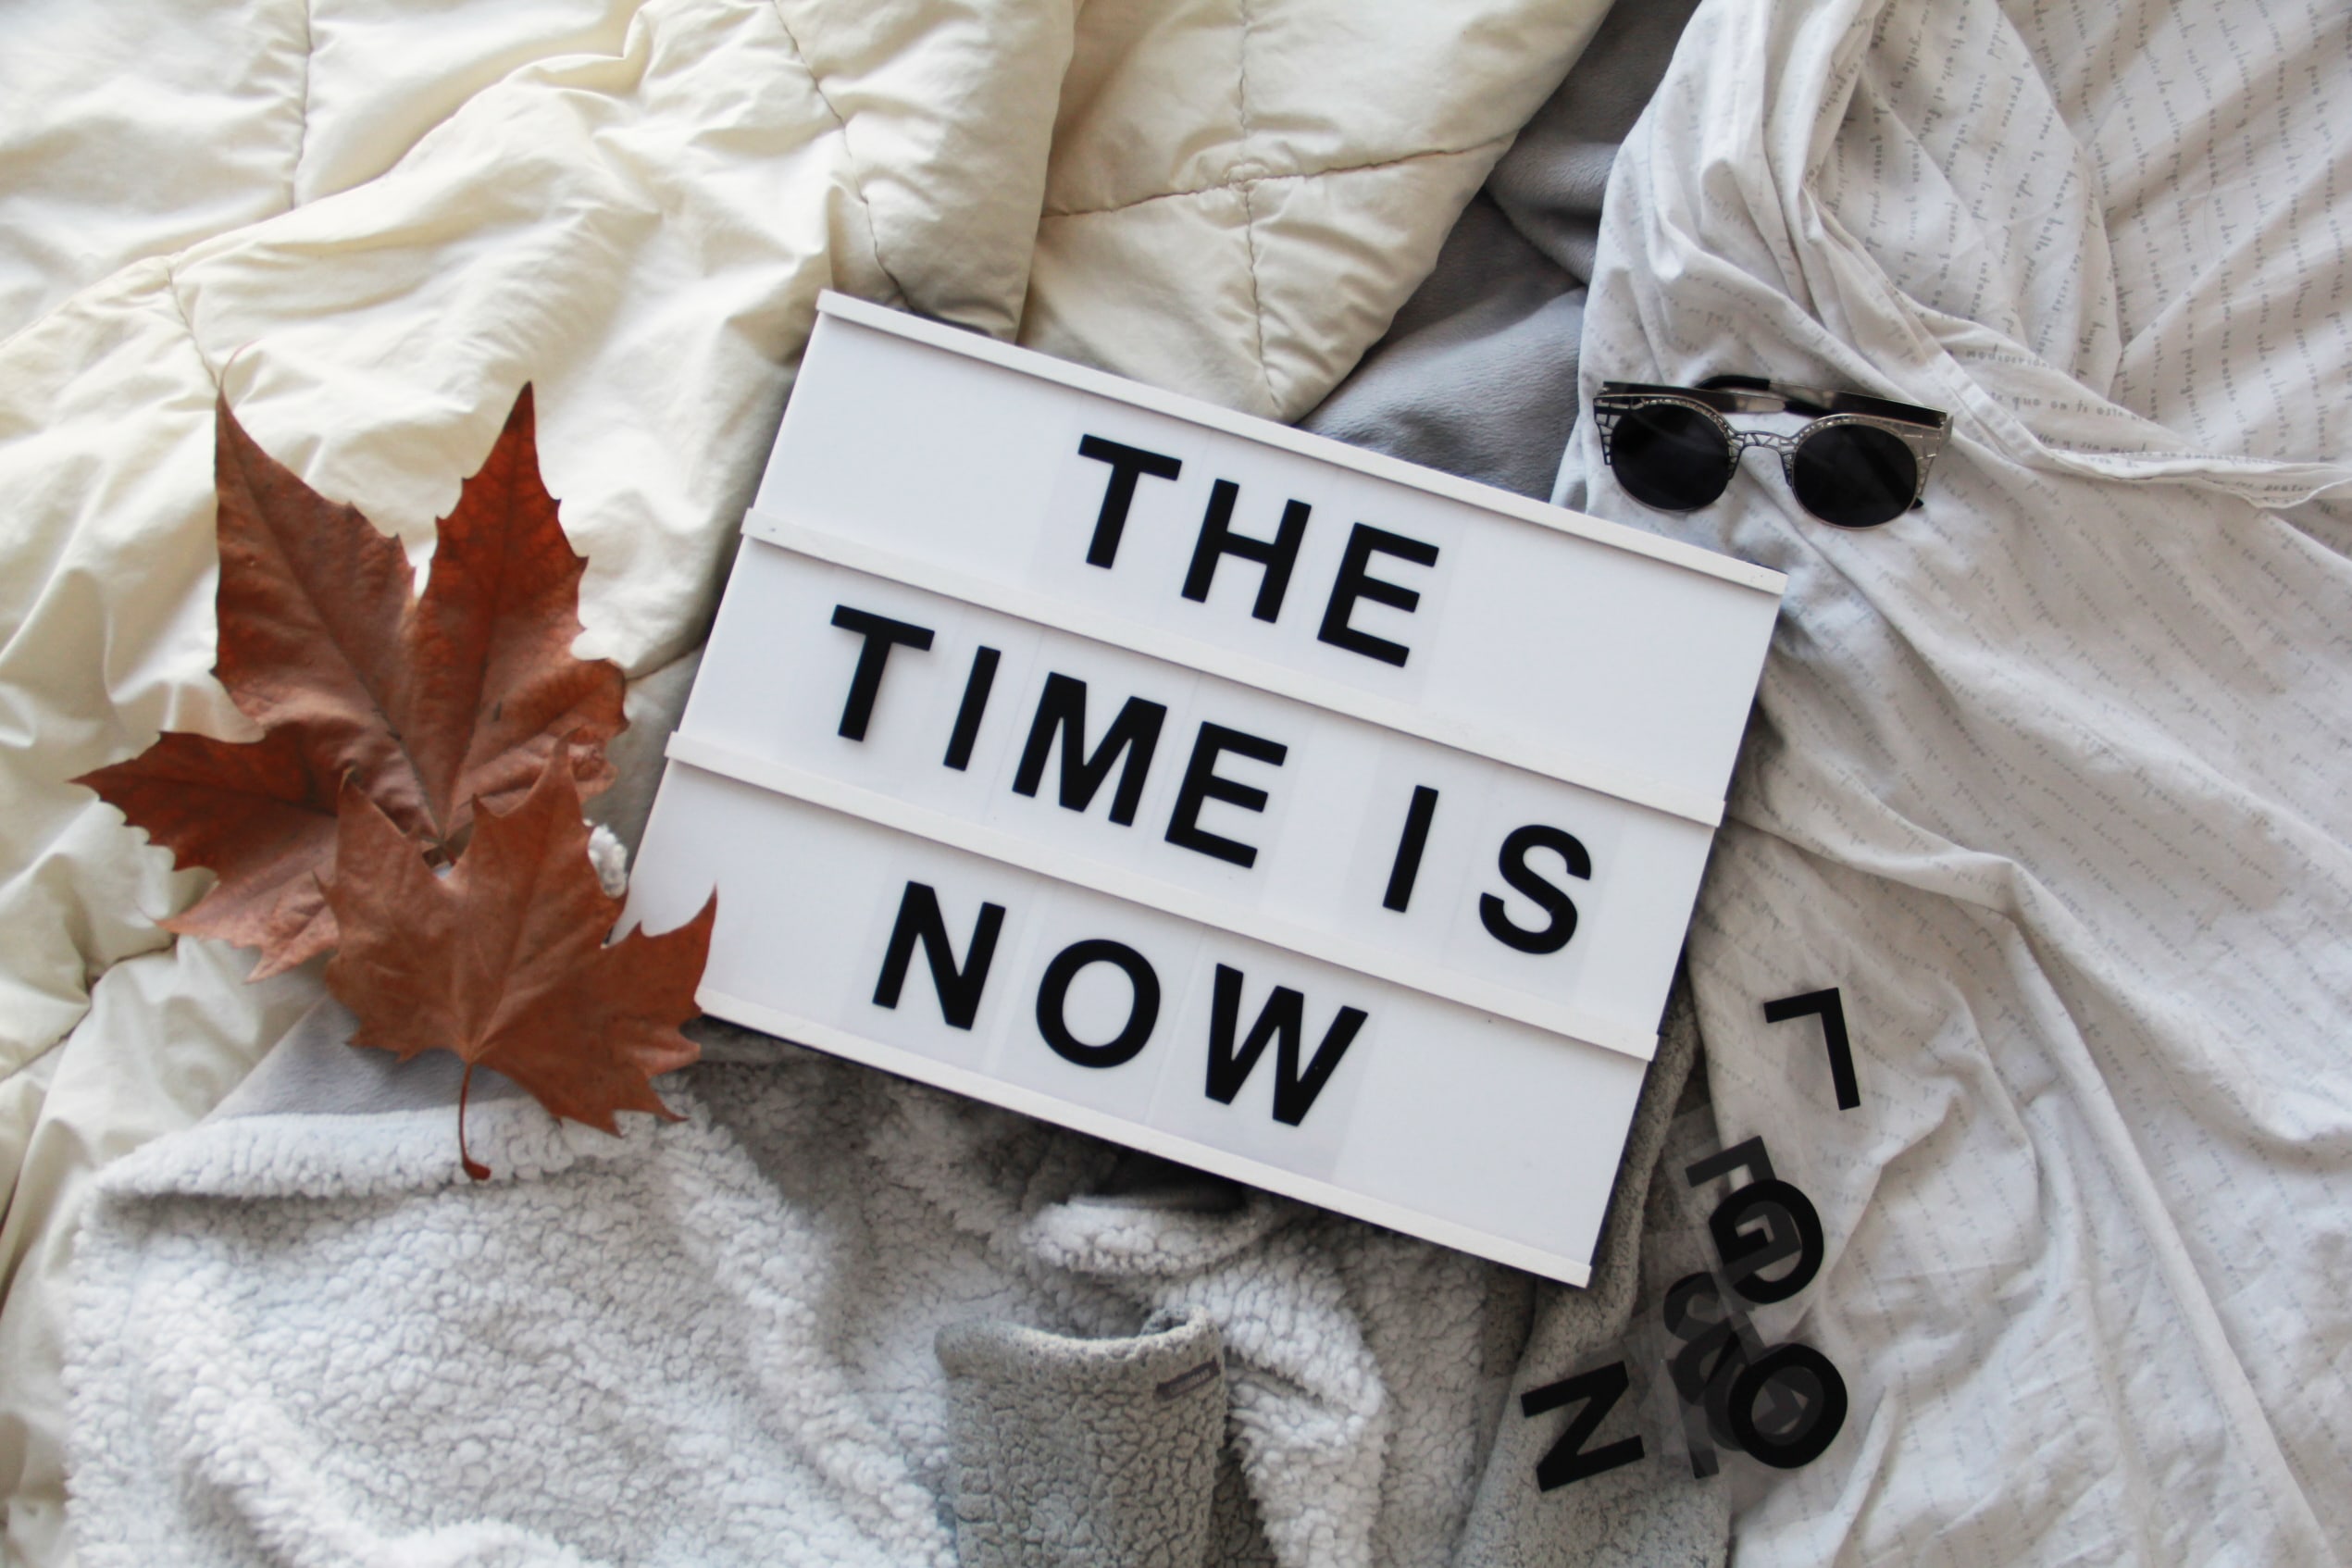
6. Glue the acrylic sheet to the box and secure the light cord. Create your message, and done!
•••
4. Toma la base de madera (tiene que tener la misma medida que el acrílico) y pega todos los lados dejando el color blanco en el interior. Haz un agujero en una de las esquinas inferiores de la base para que salga el cable de las luces.
5. Pega la tira de luces led, para un resultado uniforme recomiendo hacer una espiral con las luces enfrentándose. Puedes poner la hoja de acrílico encima y ordenar las luces hasta que te guste el resultado.
6. Pega la hoja de acrílico en la caja y asegure el cable de luz. ¡Crea tu mensaje y listo!
Now you tell me:
Do you like making your own home decor?
¿Te gusta crear tus propias decoraciones para casa?
Recuerda seguirme en instagram para ver un poco de mi día y conocernos mejor.
xo,
Luisa Verdee.

Follow me on instagram for more DIYs, Fashion & lifestyle I’ve always been an organized person, always carrying
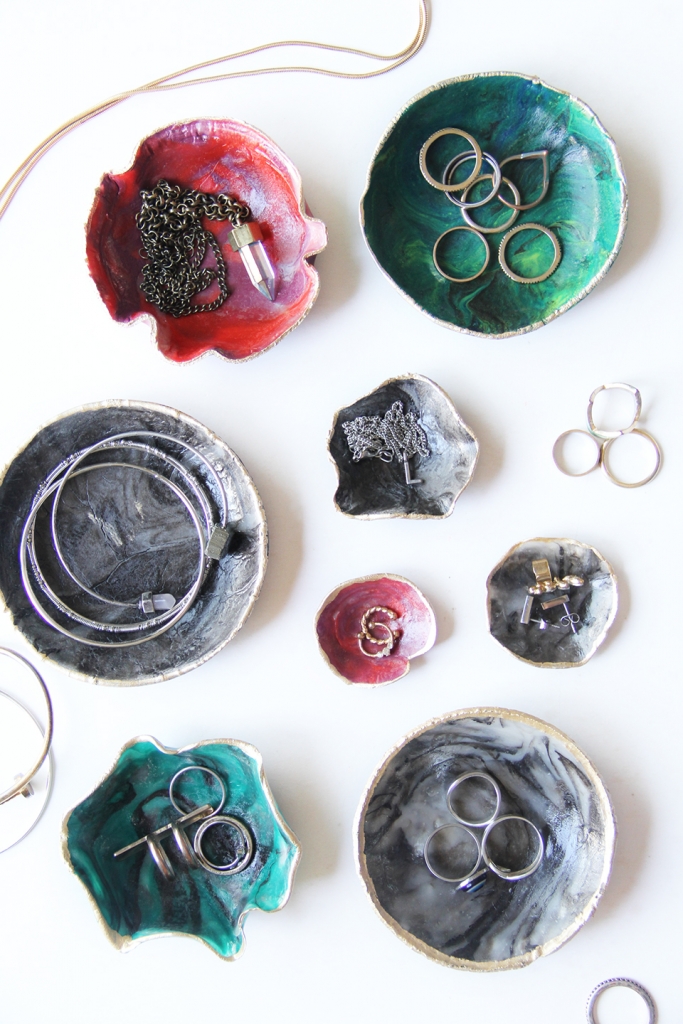
After searching like crazy without success all over Santiago I decided to make my own ring
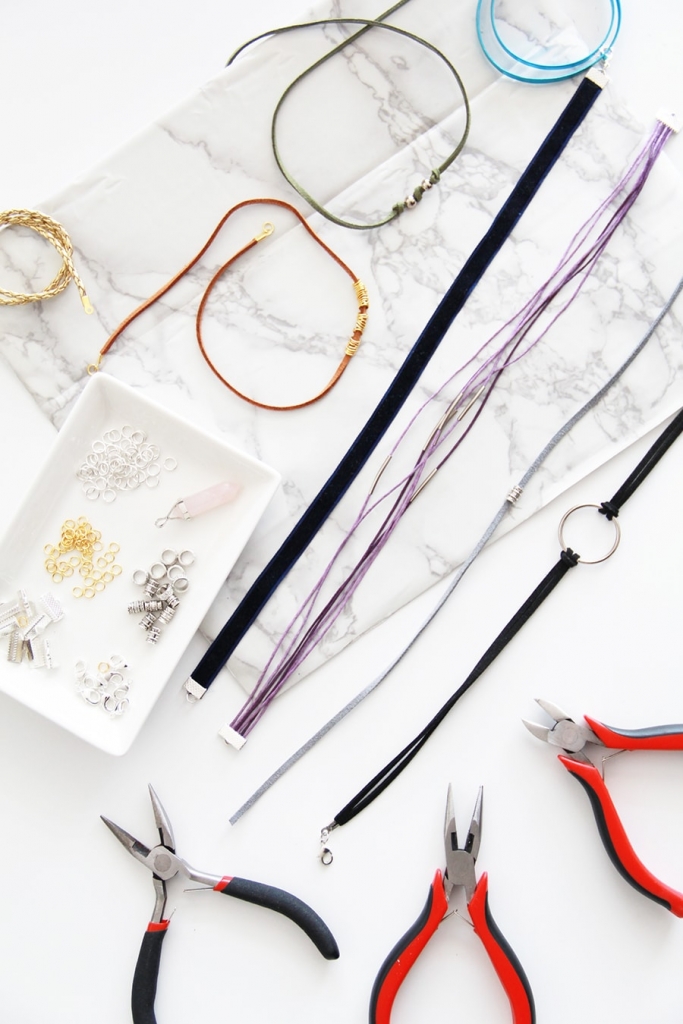
The choker necklace is a huuuge trend right now and it took me a while to