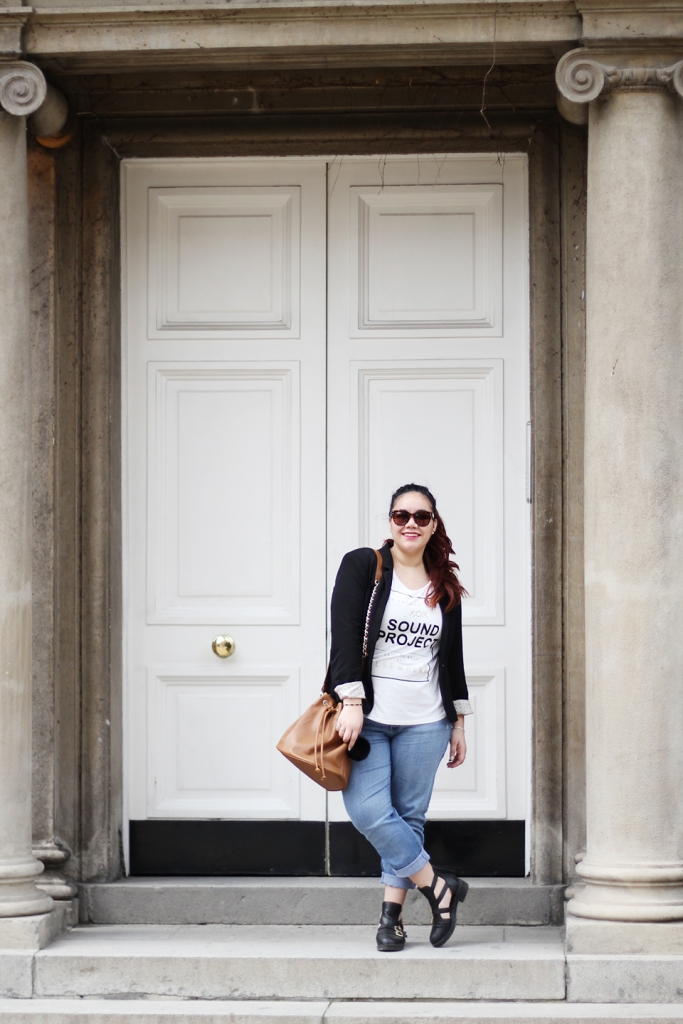
Pick a blazer and give it some boot
Am I the only one that some days wakes up and feels like worrying about nothing so you
I’ve been seen this necklace for the past year and I looked for it everywhere, even amazon and I couldn’t find it so I decided to do it myself! Of course Chanel has something to do with the enormous double pearls necklaces, rings and bracelets, they were at every cover and everyone was using them, they have this elegant natural look of a pearl but the size and the asymmetry make them young and fun, but keeping the chicness. So, here’s the DIY double pearl necklace, wish is pretty, pretty easy, the only thing that was hard to find was the choker, I got mine in a local accessories supply store.
He visto este collar desde el año pasado en todas partes y lo busqué de arriba a abajo, incluso en línea y no pude encontrarlo así que decidí hacerlo yo misma. Claro que Chanel tenía que ver con esta tendencia de perlas enormes en collares, pulseras y anillos que estaban en todas las portadas de revistas y en todos los blogs. Tienen esa elegancia natural de una perla pero el tamaño y la asimetría las hace jóvenes y juguetonas, pero siendo muy chic. Así que aquí les dejo mi tutorial de como hacer el collar de dos perlas, que a decir verdad es muy fácil, lo más complicado fue encontrar la gargantilla, yo la conseguí en una tienda local, pero después vi muchas en internet.
[ezcol_1half]
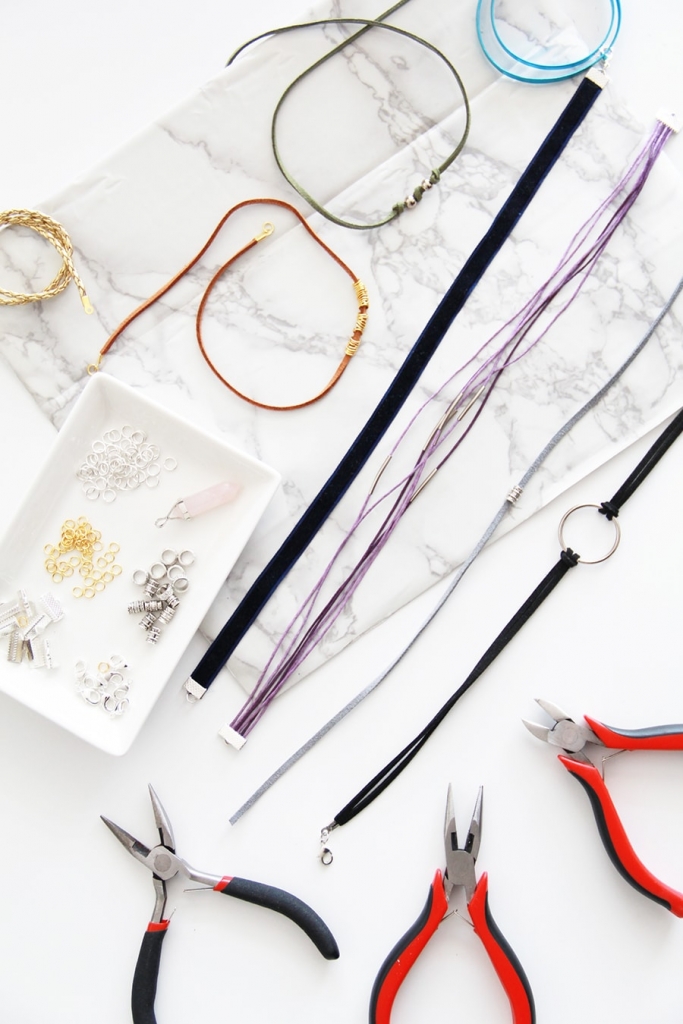
You will need:
[/ezcol_1half]
[ezcol_1half_end]
Necesitarás:
[/ezcol_1half_end]
I’m using 1 30mm pearl and 1 20mm pearl, they were the largest I could find. I was looking for half drilled pearl beads but I couldn’t find them, luckily the lady of the store find a solution to cover up the holes. After trimming the clasp off the choker, add a good amount of glue to the end of a toothpick and fill one side of the pearl. Insert the ends of the choker halfway into the bead and allow to dry completely.
Las perlas más grandes y que venían en paquete individual que pude encontrar eran de 30 y 20mm. Obvio quería de las que tienen un solo hueco, pero estando en la tienda la señorita encontró la solución que y creo que se ve bonita. Después de cortar la gargantilla y dejar el largo deseado toma una de las perlas y con ayuda del picadientes llena la parte hueca. Inserta en uno de los extremos de la gargantilla y has lo mismo con la otra. Deja que se seque completamente antes de seguir.
Then trim the ball end headpin and add the bead cap, apply some glue along the headpin and insert it into the pearls, allow to dry completely.
Corta el pin de cerrado y ponle la cabeza de cuenta, añade un poco de pegamento a lo largo y mételo al hueco que queda visible de la perla, deja secar completamente.
And there you go, now your DIY double pearl necklace inspired on Chanel’s beautiful invention! If you make one tag me so I can see it! Have fun!
Y ¡listo! ya tenemos nuestro collar de doble perla inspirado en las creaciones de Chanel. Si haces el tuyo no olvides taggearme para poder verlo. ¡Suerte!


Am I the only one that some days wakes up and feels like worrying about nothing so you

Follow me on instagram for more DIYs, Fashion & lifestyle Lately I’ve been getting a lot of blackheads

The choker necklace is a huuuge trend right now and it took me a while to
© 2024 Golden Strokes. Derechos reservados.
One Response
Que fácil es hacerlo y luce muy bonis! 🙂