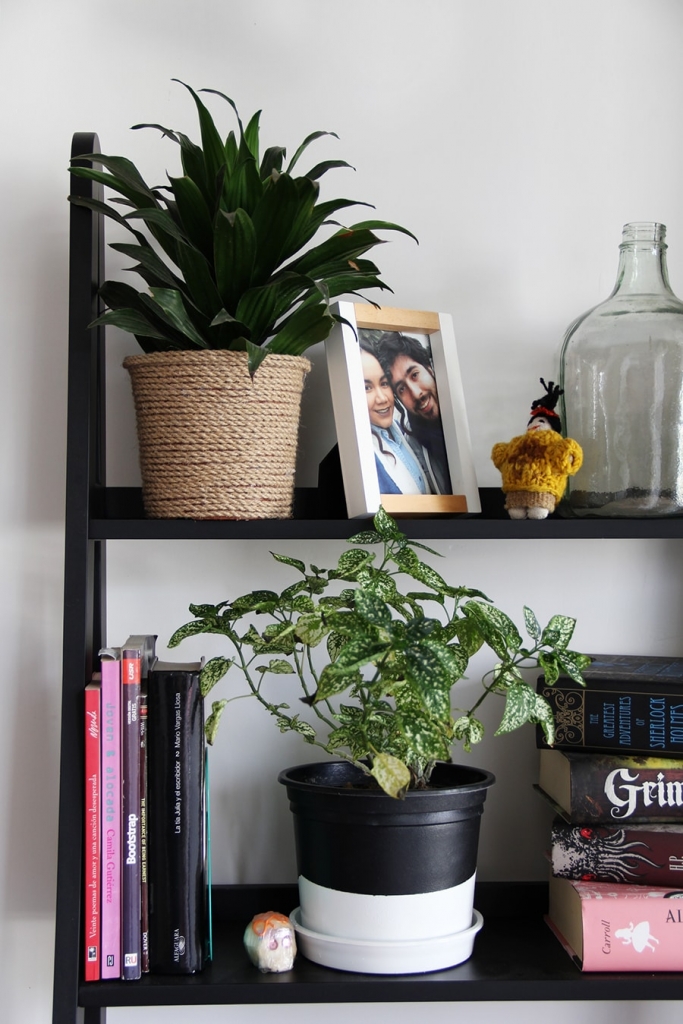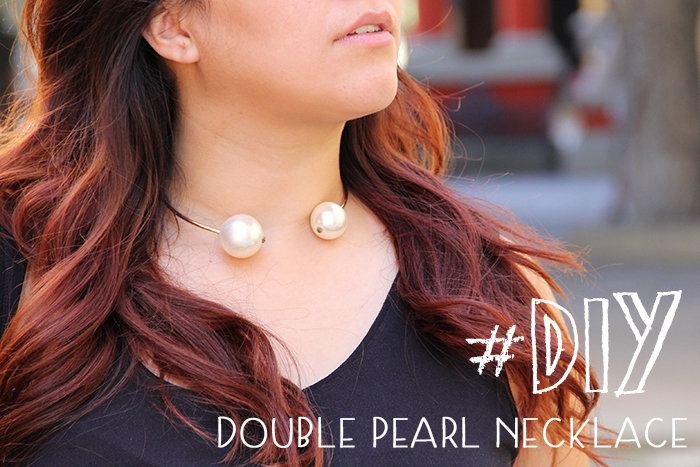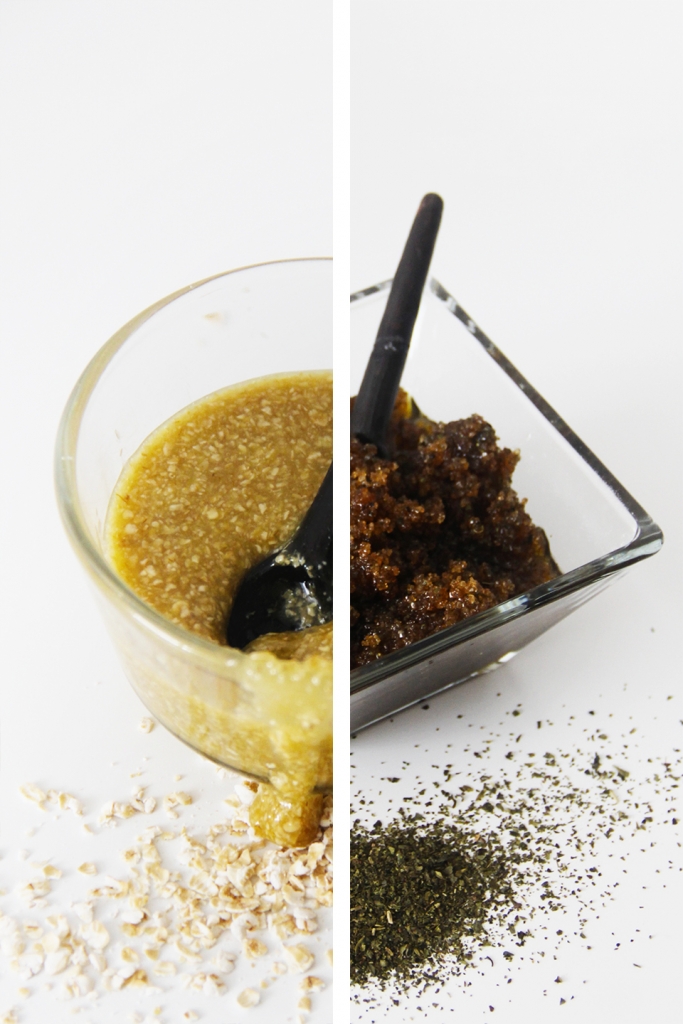
3 flower pots DIY easy ideas
Don’t forget about the pots Flower and plants give live to any space either if its
After searching like crazy without success all over Santiago I decided to make my own ring holder, and because I was there I say “let’s go marbled, why not?”, so here is for you the Marble ring dish DIY. If you are like me, and appreciate little home decor details or you are obsessed with marble or with displaying your jewelry, then this DIY is for you.![]() Después de buscar como loca y sin éxito por todo Santiago decidí hacer mi propio platito para anillos, y porque ya estaba en eso dije “hagámoslo tipo mármol, ¿por qué no?”. Si eres como yo y aprecias los pequeños detalles de decoración o estás obsesionada con el mármol o con mostrar tus joyas, entonces este proyecto es para ti.
Después de buscar como loca y sin éxito por todo Santiago decidí hacer mi propio platito para anillos, y porque ya estaba en eso dije “hagámoslo tipo mármol, ¿por qué no?”. Si eres como yo y aprecias los pequeños detalles de decoración o estás obsesionada con el mármol o con mostrar tus joyas, entonces este proyecto es para ti.
Supplies: Clay I used white and then dyied (250gr makes about 5-6 ring dishes), x-acto or cutter, bowls for the form, gold paint, small paintbrush, glaze to seal and a rolling pin. // Necesitas: Arcilla, yo usé blanca y luego la pinte (250gr hace unos 5-6 platos), x-acto o un cortador, platos para la forma, pintura dorada, pincel pequeño, esmalte para sellar y un rodillo.
[ezcol_1half]ENGLISH[/ezcol_1half] [ezcol_1half_end]ESPAÑOL[/ezcol_1half_end]
[ezcol_1half]1. Make snake rolls with each color of clay that you want to use. I went with two thick rolls of white, a medium of grey and a small of black. (use the photo as a guide)
2. Twist together the little snakes and combine into a big roll.
3. Roll into a snake about twice the original length. Then fold it in half and twist the two ends together. Repeat the twisting and rolling again about 2-3 times. This will create the marbled effect.
4. Make a ball and choose the side with more colors on it.[/ezcol_1half]
[ezcol_1half_end]1. Haz rollitos con cada color de arcilla que desea utilizar. Yo hice dos rollos gruesos de blanco, uno mediano de gris y uno pequeño de negro. (utiliza la foto como una guía)
2. Tuerce juntas las pequeñas serpientes y combinar en un rollo grande.
3. Enrolla hasta crear una serpiente dos veces más larga. Luego dobla la serpiente por la mitad y gira los dos extremos juntos. Repite el alargar, torcer y girar de nuevo unas 2-3 veces. Esto creará el efecto de mármol.
4. Después haz una bola y elige el lado con más colores o formas.[/ezcol_1half_end]
[ezcol_1half]ENGLISH[/ezcol_1half][ezcol_1half_end]ESPAÑOL[/ezcol_1half_end]
[ezcol_1half]5. Use a rolling pin or glass jar to roll out your marbled ball. The colors will blend together and create a marbled pattern as you roll over it.
6. Use a round item as a template and cut out your dish circle. Or leave it like that if you like a rustic finish.
7. Place your circle gently into a bowl that is a little smaller than your circle so it will sag a little in the center and give you more of a dish shape. Now follow the instructions of your clay, you may have to bake it or just wait until it dries by air.
8. Once the clay has harden up, use a small brush to paint the rim of the dish and allow the paint to dry. Seal the dish with a glaze if you desire. [/ezcol_1half]
[ezcol_1half_end]5. Usa un rodillo o un baso para aplanar tu bola de mármol. Los colores se mezclaran y verás como se va haciendo un patrón de mármol mientras amasas.
6. Usa un plato como una plantilla y corta el excedente. O se lo puedes dejar si te gusta más rústico.
7. Coloca el círculo con cuidado en un recipiente un poco más pequeño para que caiga y se haga la forma de plato. Ahora sigue las instrucciones de tu arcilla, puede que la tengas que hornear o solo esperar a que seque.
8. Una vez que la arcilla se endurezca, utiliza un pincel pequeño y pinta borde del plato y deja que la pintura seque. Puedes sellar el plato con un esmalte si quieres que sea brilloso.[/ezcol_1half_end]
And there you go! It’s a really cute, quick and easy Marble ring dish DIY to make with friends or alone listening to music. I made this with Mister P, he made the green/yellow one and we had a nice time just working together and being over perfectionists -and failing.
I just love them, they are really pretty and spice up any room with it’s form and colors. Also they can make a really cute and personalized present for christmas or a friend’s birthday. ![]() Y ahí lo tienes! Es un proyecto muy lindo, rápido y fácil de hacer con tus amigas o solo escuchando buena música. Yo los hice con Mister P, él hizo el verde/amarillo y nos lo pasamos muy bien, trabajando juntos y siendo perfeccionistas -y fallando.
Y ahí lo tienes! Es un proyecto muy lindo, rápido y fácil de hacer con tus amigas o solo escuchando buena música. Yo los hice con Mister P, él hizo el verde/amarillo y nos lo pasamos muy bien, trabajando juntos y siendo perfeccionistas -y fallando.
Me encantan, son súper bonitos y le dan vida a cualquier habitación con su forma y colores. También creo que pueden ser un regalo muy lindo y personalizado para Navidad o el cumpleaños de alguna amiga.
 Now you tell me:
Are you as crazy for marble as I am? Do you liked this DIY?
¿Te gusta el mármol en todo como a mi?
¿Te gustó el proyecto?
Recuerda seguirme en instagram para ver un poco de mi día y conocernos mejor.
xo,
Luisa Verdee.


Don’t forget about the pots Flower and plants give live to any space either if its

I’ve been seen this necklace for the past year and I looked for it everywhere, even

Follow me on instagram for more DIYs, Fashion & lifestyle Since almost 3 years ago I’ve been lightly
© 2024 Golden Strokes. Derechos reservados.
One Response
Me encantaron!
Que lindo Mr. P por ayudarte.
PD: Lo he dicho muchas veces pero tengo una ligera obsesión con todas las fotografías.